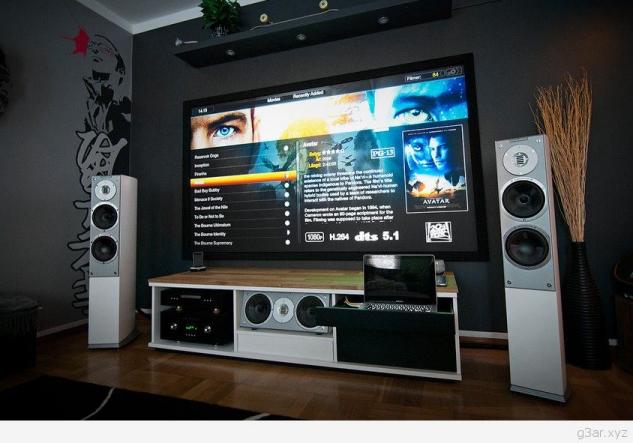
I found on eBay a broken NES and i bought it to make it as a Home Entertainment System, by using a Raspberry Pi 3.
You can use this guide to make your Entertainment System with a Raspberry Pi, like a multi emulator system and of course as Media Center, to be capable to play videos, music, pictures, and more.
You need
A Raspberry Pi 3
RetroPie Pre-made image
An SD card (i used a Samsung EVO 32GB Class 10 Micro SDHC)
Putty
Optional
HIFI DAC Audio Sound Card Module Board
100CM High Speed HDMI Male to Female Cable Extender
IR Sensor - 38KHz (for Raspberry Pi)
A powered USB hub
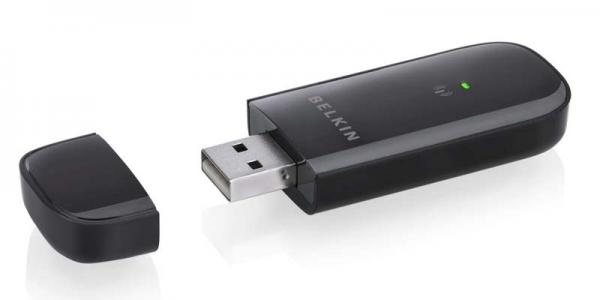
1 USB Wi-Fi dongle
Any NES or Mini NES Case
How to
Download the latest RetroPie image and write it on the SD card. Insert the SD Card into Raspberry Pi and power it on. In a few seconds, you will see the RetroPie screen. Now configure your controller and connect Raspberry Pi with your network.
Installing KODI
To install KODI, go to RetroPie's Setup and select "Manage Packages" and then "Manage Optional Packages".

From there, go all the way down and select No 308 "Kodi" and then "Install From Binary". When done, restart EmulationStation.

Now Kodi can be found under "Ports" Menu. You can run Kodi from here.

Make Kodi as its own system instead a port
Run Putty and connect to Raspeberry's Pi IP. Login as username "pi" and password "raspberry" (without the quotes) and then run the commands below (one line at a time). If you want to know what every command does, see here:
sudo su

sudo cp /etc/emulationstation/es_systems.cfg /home/pi/.emulationstation/es_systems.cfg

sudo nano /home/pi/.emulationstation/es_systems.cfg
Now, add the following codeblock anywhere after
Save your changes with ctrl+o, enter and then exit with ctrl+x. Now run this command:
mkdir /home/pi/RetroPie/roms/kodi

sudo nano /home/pi/RetroPie/roms/kodi/kodi.sh
Now add the following line:
kodi-standalone
Once again, save your changes with ctrl+o, enter and then exit with ctrl+x.
Finally, run this command and after that, restart Raspberry Pi:
sudo chmod +x /home/pi/RetroPie/roms/kodi/kodi.sh
Now kodi should be there as its own system.

Controlling Kodi
My tv's remote control can be used to controlling Kodi and most modern TVs can do that. But you can use any IR controller, especially if you have an old one, like PS2's IR remote.
You only need an IR Sensor to connect it on Raspberry Pi. Connect it according to this diagram:

Next you need to setup Kodi. Follow these instructions to do it.
Yatse
Yatse is the most complete Kodi remote. To configure Yatse, run Kodi and choose Systems > Settings.
Then select the "Services" menu, "Webserver" and activate "Allow control via HTTP".

Next go to "Remote Control" menu and activate "Allow remote control by programs on other systems".

Now run Yatse on your mobile and from the menu, select "Manage Hosts" and then "Add Host" and finally "Kodi".

Yatse will scan your network and find Kodi.

Now you can enable it and control Kodi.

Install Popular Kodi Addons
Kodi has some of the best addons to use. Before installing them, you have to add the source for them. choose Systems > File Manager and then "Add Source". Select "None" and type this URL:
http://fusion.tvaddons.ag
and select "Done". Underneath you can enter any name you want, just type "fusion" and select OK.

Now select "System" and then "Add-Ons". From there you can select what you want to install.
How to Install Exodus
Exodus is a streaming plugin and is always at the top of every list of best film/tv show addons. To install it, follow the guide above.
Then from main menu, select System and then "Add-Ons". After that, select "Install from zip file", then select "fusion" > "kodi-repos" > "english" > "repository.exodus.x.x.x.zip" and wait for "Enabled" notification.
Now go back and select "Install from repository" > "Exodus repository" > "Video add-ons" > "Exodus" and select "Install". Now wait for the installation.

After that, Exodus is ready to use.

Subtitles in Exodus
You can watch any movie or tv show you want, with subtitles. If you want to enable subtitles other than English, go to "Settings" and then "Subtitles" and make the needed changes according to your language.

To enable them, select any movie you want and select the subtitles icon.

From there, you can choose what subtitles are available to your language and/or adjust any delay.

Hi-Res Music
I wanted to use this system as a Hi-Res music player, so i added and a DAC to the system. You have to do some work to get it working correctly.
Installing a DAC
To install a DAC, you have to use Putty again. Connect to Pi and put this command:
sudo nano /boot/config.txt
Now, according to the DAC you have, copy these commands on the config.txt.
DAC/DAC+ Light
dtoverlay=hifiberry-dac

dtdebug=1
DAC+ standard/pro
dtoverlay=hifiberry-dacplus

dtdebug=1
Digi/Digi+
dtoverlay=hifiberry-digi

dtdebug=1
Amp/Amp+
dtoverlay=hifiberry-amp

dtdebug=1
Save your changes with ctrl+o, enter and then exit with ctrl+x. Now restart Raspberry Pi and go to Systems > Settings and choose "Audio Output". There select from "Audio output devide" your output device and you can listen from the DAC.

If you hear no sound, then run this command to see the log:
vcdbg log msg
Connect an NES controller
Since i used an NES case, i wanted to use an original NES controller (for adding other retro controllers on Raspberry Pi, check this post here). After connecting the controller on gpio, use these commands to enable it.
sudo nano /etc/modules
Add gamecon_gpio_rpi and save it. This loads the driver on boot. Now run:
sudo nano /etc/modprobe.d/gamecon.conf
and add:
gamecon_gpio_rpi map=0,0,0,0,2,1
My NES before close it.


