It has finally come! A PSP 2.00 downgrader by MPH. So many PSP users who wished to run homebrew on their device were stuck with newer firmware such as 1.52 or 2.00.
This made running of homebrew code impossible. I believe that everyone should have the right to run their own code and we all shouldn't be limited to "authorized code" after spending money on the hardware. This is NOT a guide to show you how to pirate games for PSP. This is intended to show users of 2.00 PSPs how to downgrade to run legal homebrew, that's all!
NOTE: WHILE THIS METHOD HAS BEEN TESTED AND SHOWN TO WORK FOR MANY PSP USERS ALREADY, THERE IS NO GUARANTEE THAT YOU WONT SCREW UP YOUR PSP BY TRYING TO DOWNGRADE. THERE IS ALSO NO WAY OF TELLING IF THERE WILL BE ANY FUTURE PROBLEM DUE TO DOWNGRADE. IF YOU BREAK YOUR PSP, TOUGH! IT'S NOT MY FAULT AND IT CERTAINLY ISN'T THE FAULT OF MPH EITHER! YOU ARE THE ONE THAT WILL BE DOING THIS, NOBODY ELSE, SO IF YOU DO IT WRONG, OR ANYTHING BAD HAPPENS, IT'S YOUR FAULT!
Step 1. Preparation
First you need MPHDowngrader and EBOOT.PBP v1.50 .
Unpack MPHDowngrader.zip and find and download the EBOOT.PBP update file for v1.50. Connect your PSP to your PC via USB connection (or use card reader etc. whatever way you can edit the Memory Stick - but remember i tested this with a USB connection, nothing else, so this is at your own risk). Now let's begin.
Step 2. Transfer files to Memory Stick
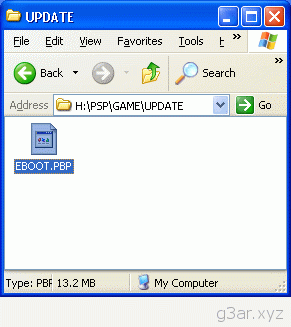
- Create a new folder called UPDATE in the PSP/GAME directory. (in my case, H:PSPGAMEUPDATE).
- Copy the EBOOT.PBP file into the UPDATE folder.
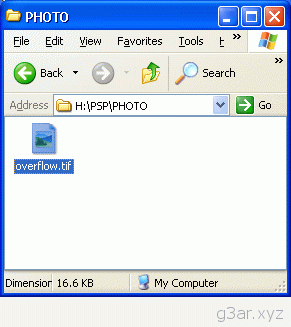
- Copy overflow.tif into the PHOTO directory. (in my case, H:PSPPHOTO)
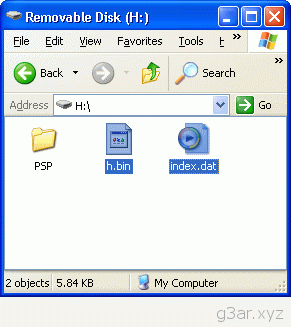
- Copy h.bin AND index.dat into the root directory of your Memory Stick (outside PSP folder). (in my case, H:)
- Plug in your AC adapter. So your folders should look exactly like the images above. Now we're ready for the next step, the "installing" of the update.
Step 3. Open Photo Viewer
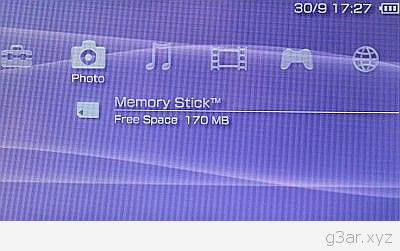
Go to your PSP Menu and Navigate to Photo. Select Memory Stick and press X (or O in some cases, whatever your main selection button is - from now on I will just say X).
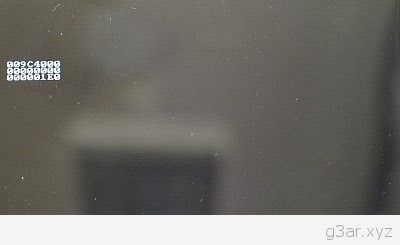
Now you will see a jumble of numbers, this is OK. Wait about 30 seconds or so and restart your PSP. (Hold the power button up as long as it takes to reboot the PSP, it will take much longer than usual, but it will turn off eventually.) A file will now have been created in your Memory Stick's root directory called index.dat.bak, check this out with your USB connection to be sure.
Step 4. Find and begin update
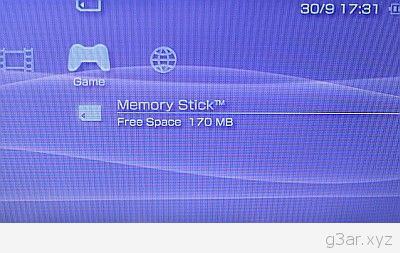
When you have booted your PSP again, on the PSP menu go to GAME and scroll down to Memory Stick. Press X.
So far so good if you see this option to "update". Now you need to start the update process. Press X.
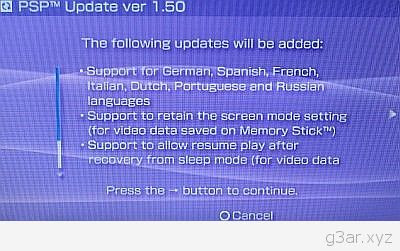
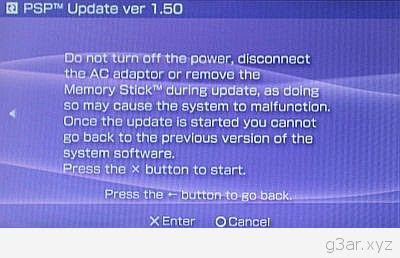
Now you will see what updates will be added (of course there will be nothing new for you, expect a few known bugs that allow you to run homebrew). Hit the Right Directional button to get to the next screen.
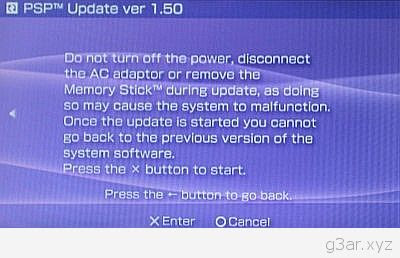
Don't ignore this warning. Do not interrupt the update process in any way! If you do, you may very well make crap of your PSP.
Step 5. The update process.
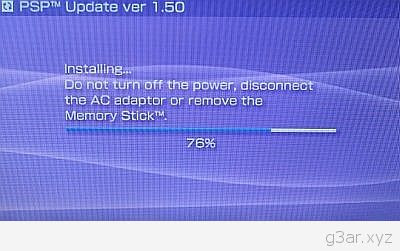
This is the vital process. It shouldn't take too long at all.
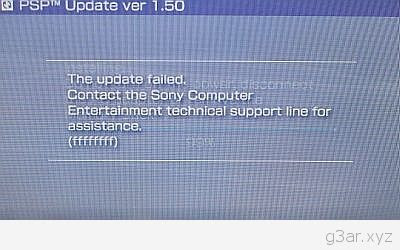
As you approach the end you have to be prepared to see an error at about 99% completion. This is normal. Look below for the error you will see.
Step 6. Error Messages
This is the error message you will see. Do not panic, everyone will (should) see this error message. Simply reboot your PSP. (Remember to hold the power button up fully until it switches off, it may take longer than normal, keep it held until it switches off.) Now unfortunately, this isn't the last error we encounter...
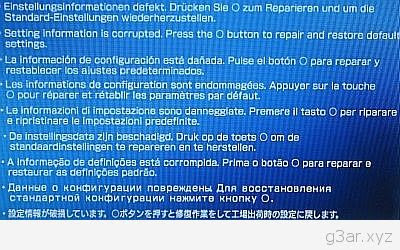
This is a scary looking error to receive when the PSP boots, but don't worry, again, everyone will (should) see this error message. The PSP should reboot itself if u press O. If it doesn't, then reboot it yourself. Remember that I got this error message twice. The second time I saw it the PSP rebooted and loaded up correctly. Most users that have tried so far only saw this error once so remember it's not un unusual to see it multiple times.
Step 7. PSP Settings
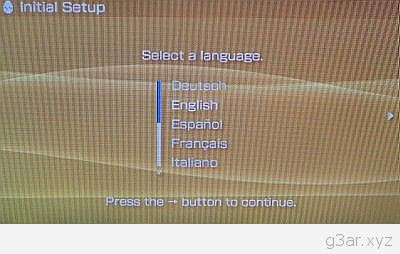
Just like the first time you switched on your PSP, you now have to set language, time and a nickname. Once you select an option, hit the right directional key to move to the next until eventually you have to hit X to save the settings.
Step 8. Enjoy PSP 1.50
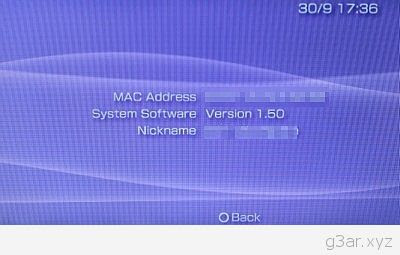
Go to the PSP Menu and move across to the Settings Menu. Scroll down to System Settings and open it. Now check out System Information and you should see something like the pic above. As long as it says System Software Version 1.50 it's all good.


